It’s Mojo Monday time and here is this week’s sketch…
 This is my take on the sketch. As you can see, with the countdown on until the end of Sale-a-Bration this month, I’m making the most of all the wonderful selections there are this year!
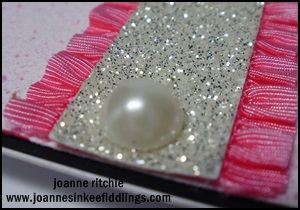
 The three stripes I had created for last weeks challenge and after spending an hour this afternoon looking for just the right color, decided this was what the card needed as I didn’t really want a girlie-girl card. And of course this all had to be run through the Sale-a-Bration’s Decorative Dots Embossing Folder!
Onto the Basic Gray Cardstock I stamped with Basic Gray Classic Ink the arrow from the Petals Parade Stamp Set. I also used the semi-circle “leaf-like” stamp from this set for the Summer Starfruit Cardstock background.
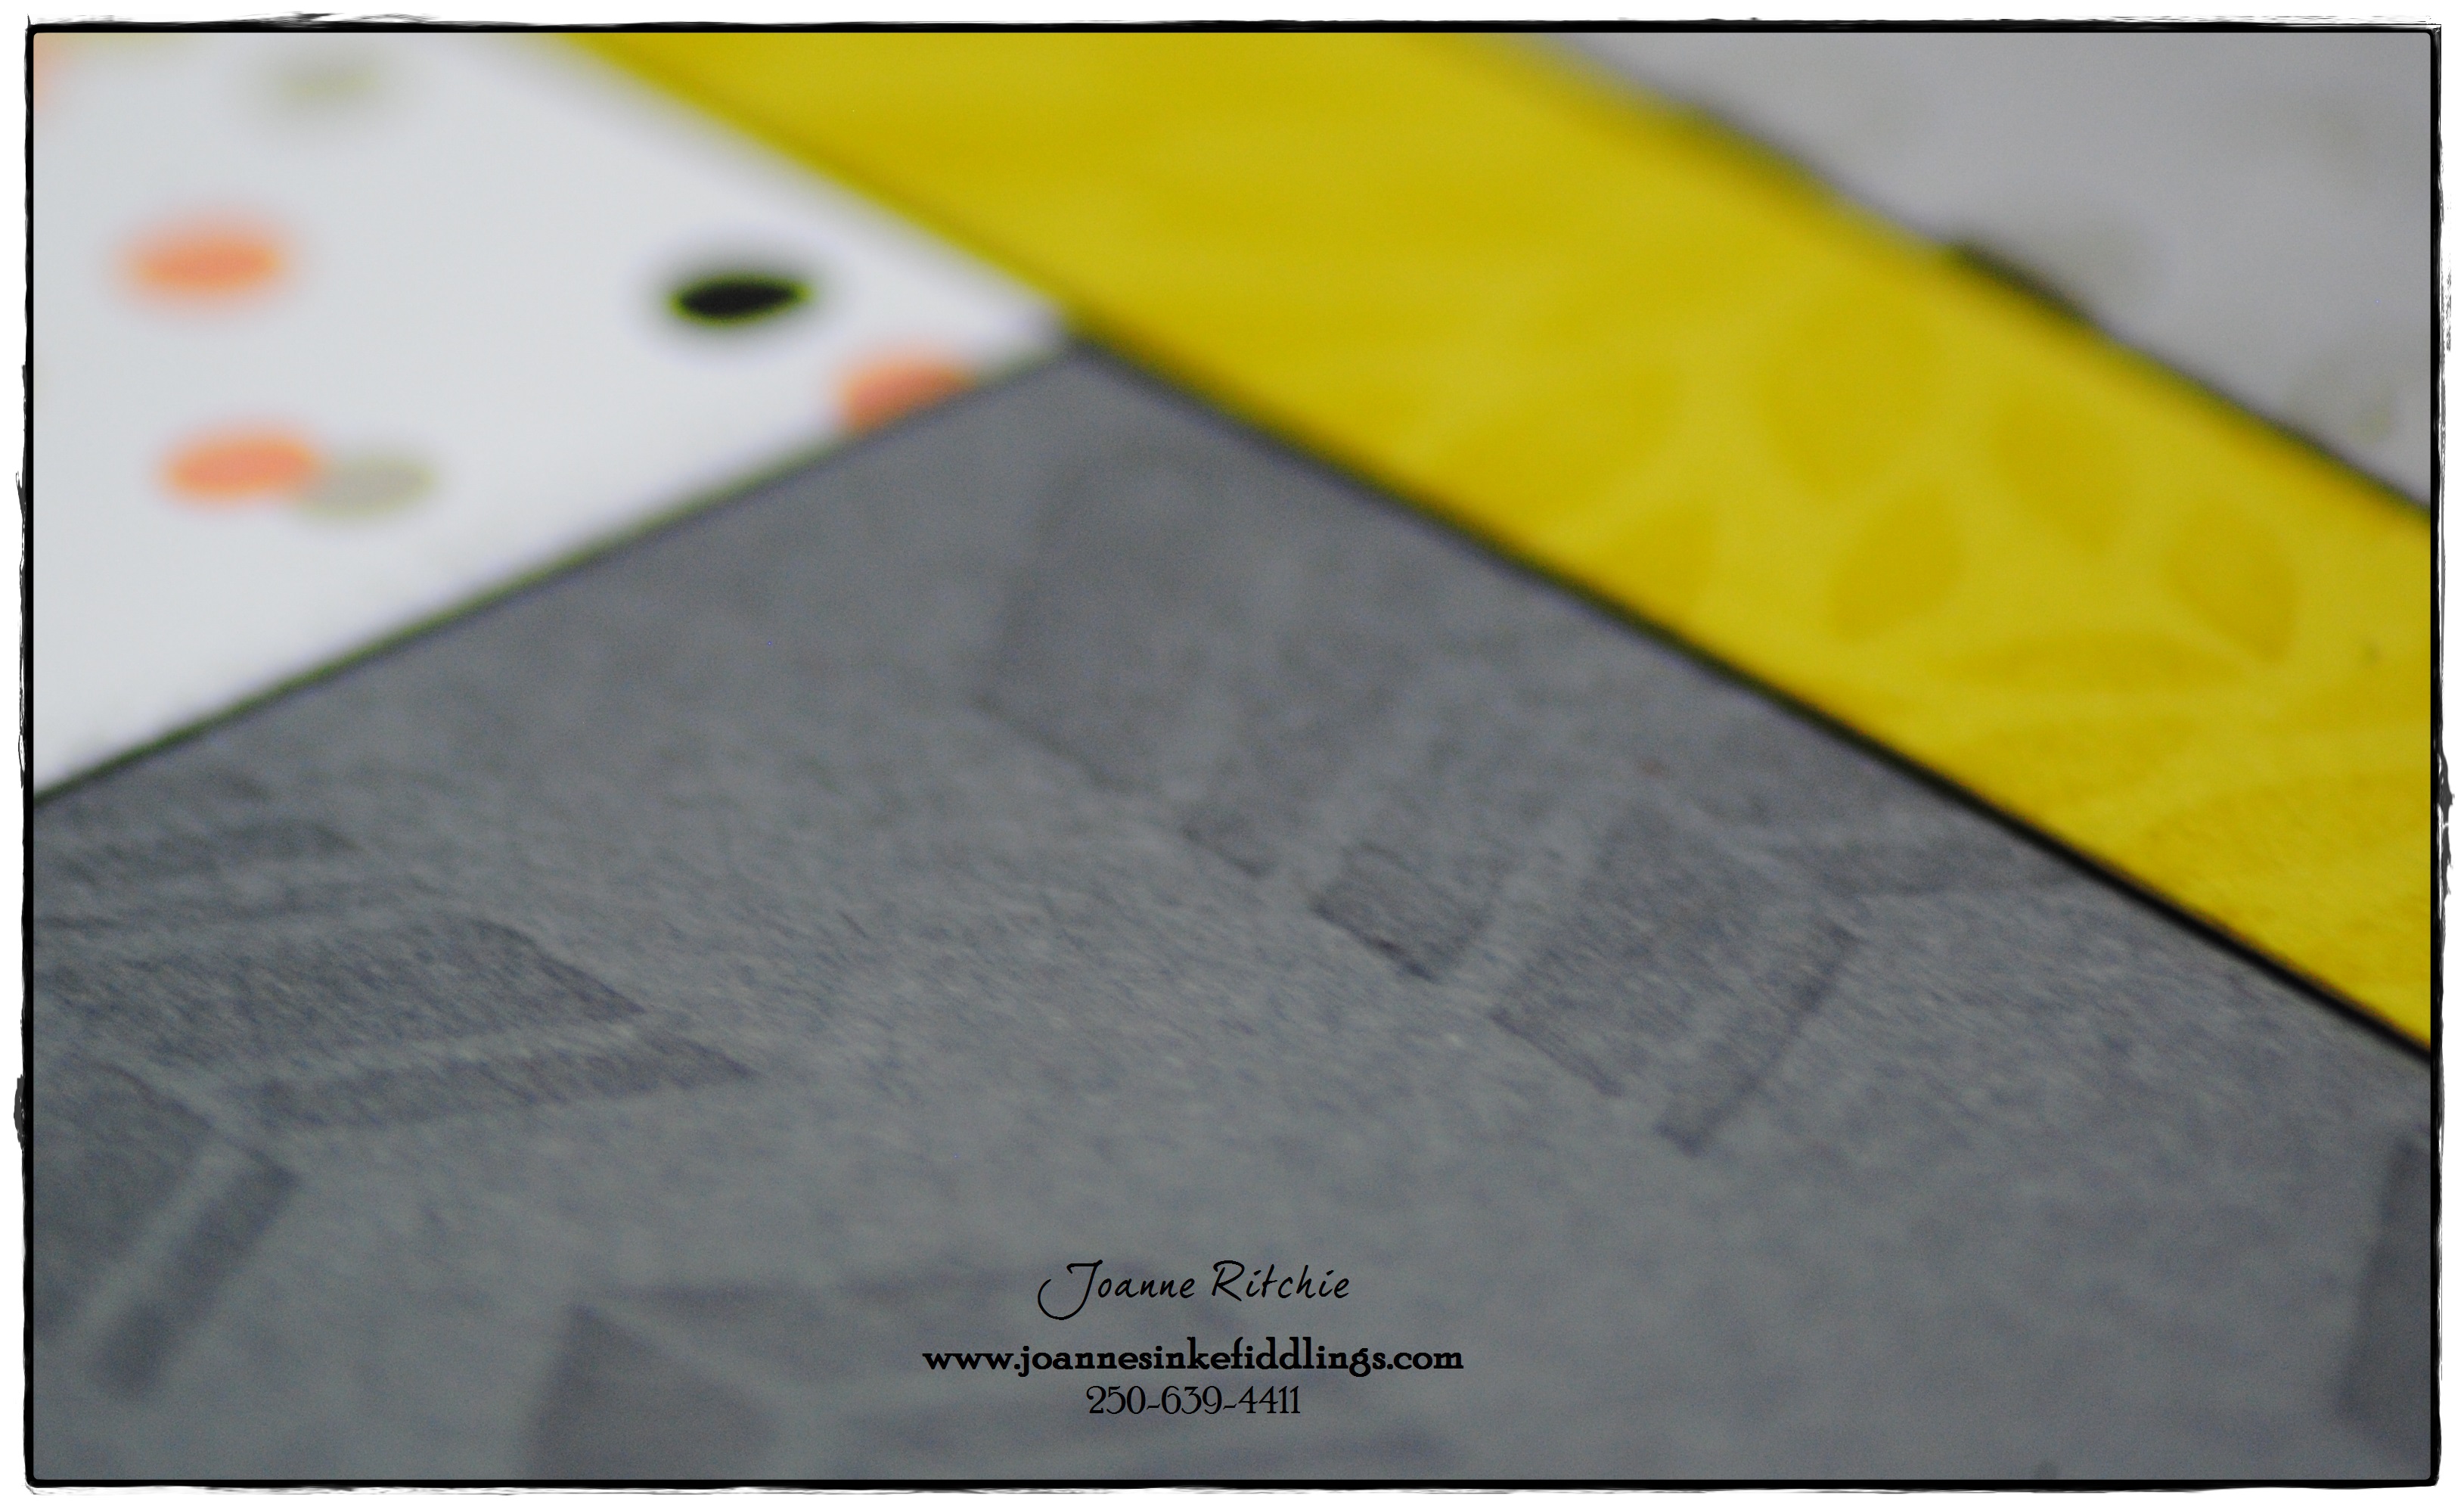 The leaves I punched in Pistachio Pudding Core’dinations from the Bird Builder Punch then did some accordion folding with a strip of the Pistachio to create the Paper Ribbon. The finishing touch was a cork flower from the Sweet Sorbet Accessory Kit from which I also added a couple of the arrow pieces to the sentiment. This too is from Sale-a-Bration, the See Ya Later Stamp Set which I stamped and sponged in Summer Starfruit Classic Ink.

CARD RECIPE
Cardstock: Basic Gray, Whisper White, Smoky Slate, Basic Black, Summer Starfruit,
Pistachio Pudding Core-dinations
Stamp Sets: Petal Parade, See Ya Later (both Sale-a-Bration)
Classic Inks: Basic Gray, Summer Starfruit
DSP: Sweet Sorbet (Sale-a-Bration)
Punches: 3/16″ Corner, Bird Builder
Big Shot: Decorative Dots Embossing Folder (Sale-a-Bration)
Embellishments: Sweet Sorbet Accessory Kit, Hung Up Cute Clips
Essentials: Paper Trimmer, Paper Snips, Stick Strip, Two-Way Glue Pen
Stampin’ Dimensionals, Sponges
Oh, and have yourself an...
Inkee Fiddling Day!
Joanne x