Last week I was like a woman possessed with my Envelope Punch Board – not making envelopes of course – that was way too obvious. Instead, I was seeing just what else I could do with this item besides collecting dust on my shelves, lol!
This is just a few of things created. My sincere apologizes for the poor photography – I’m fighting off the beginnings of the flu I fear so am not firing on all cylinders you might say – hence settings aren’t as wonderful as I’d like!
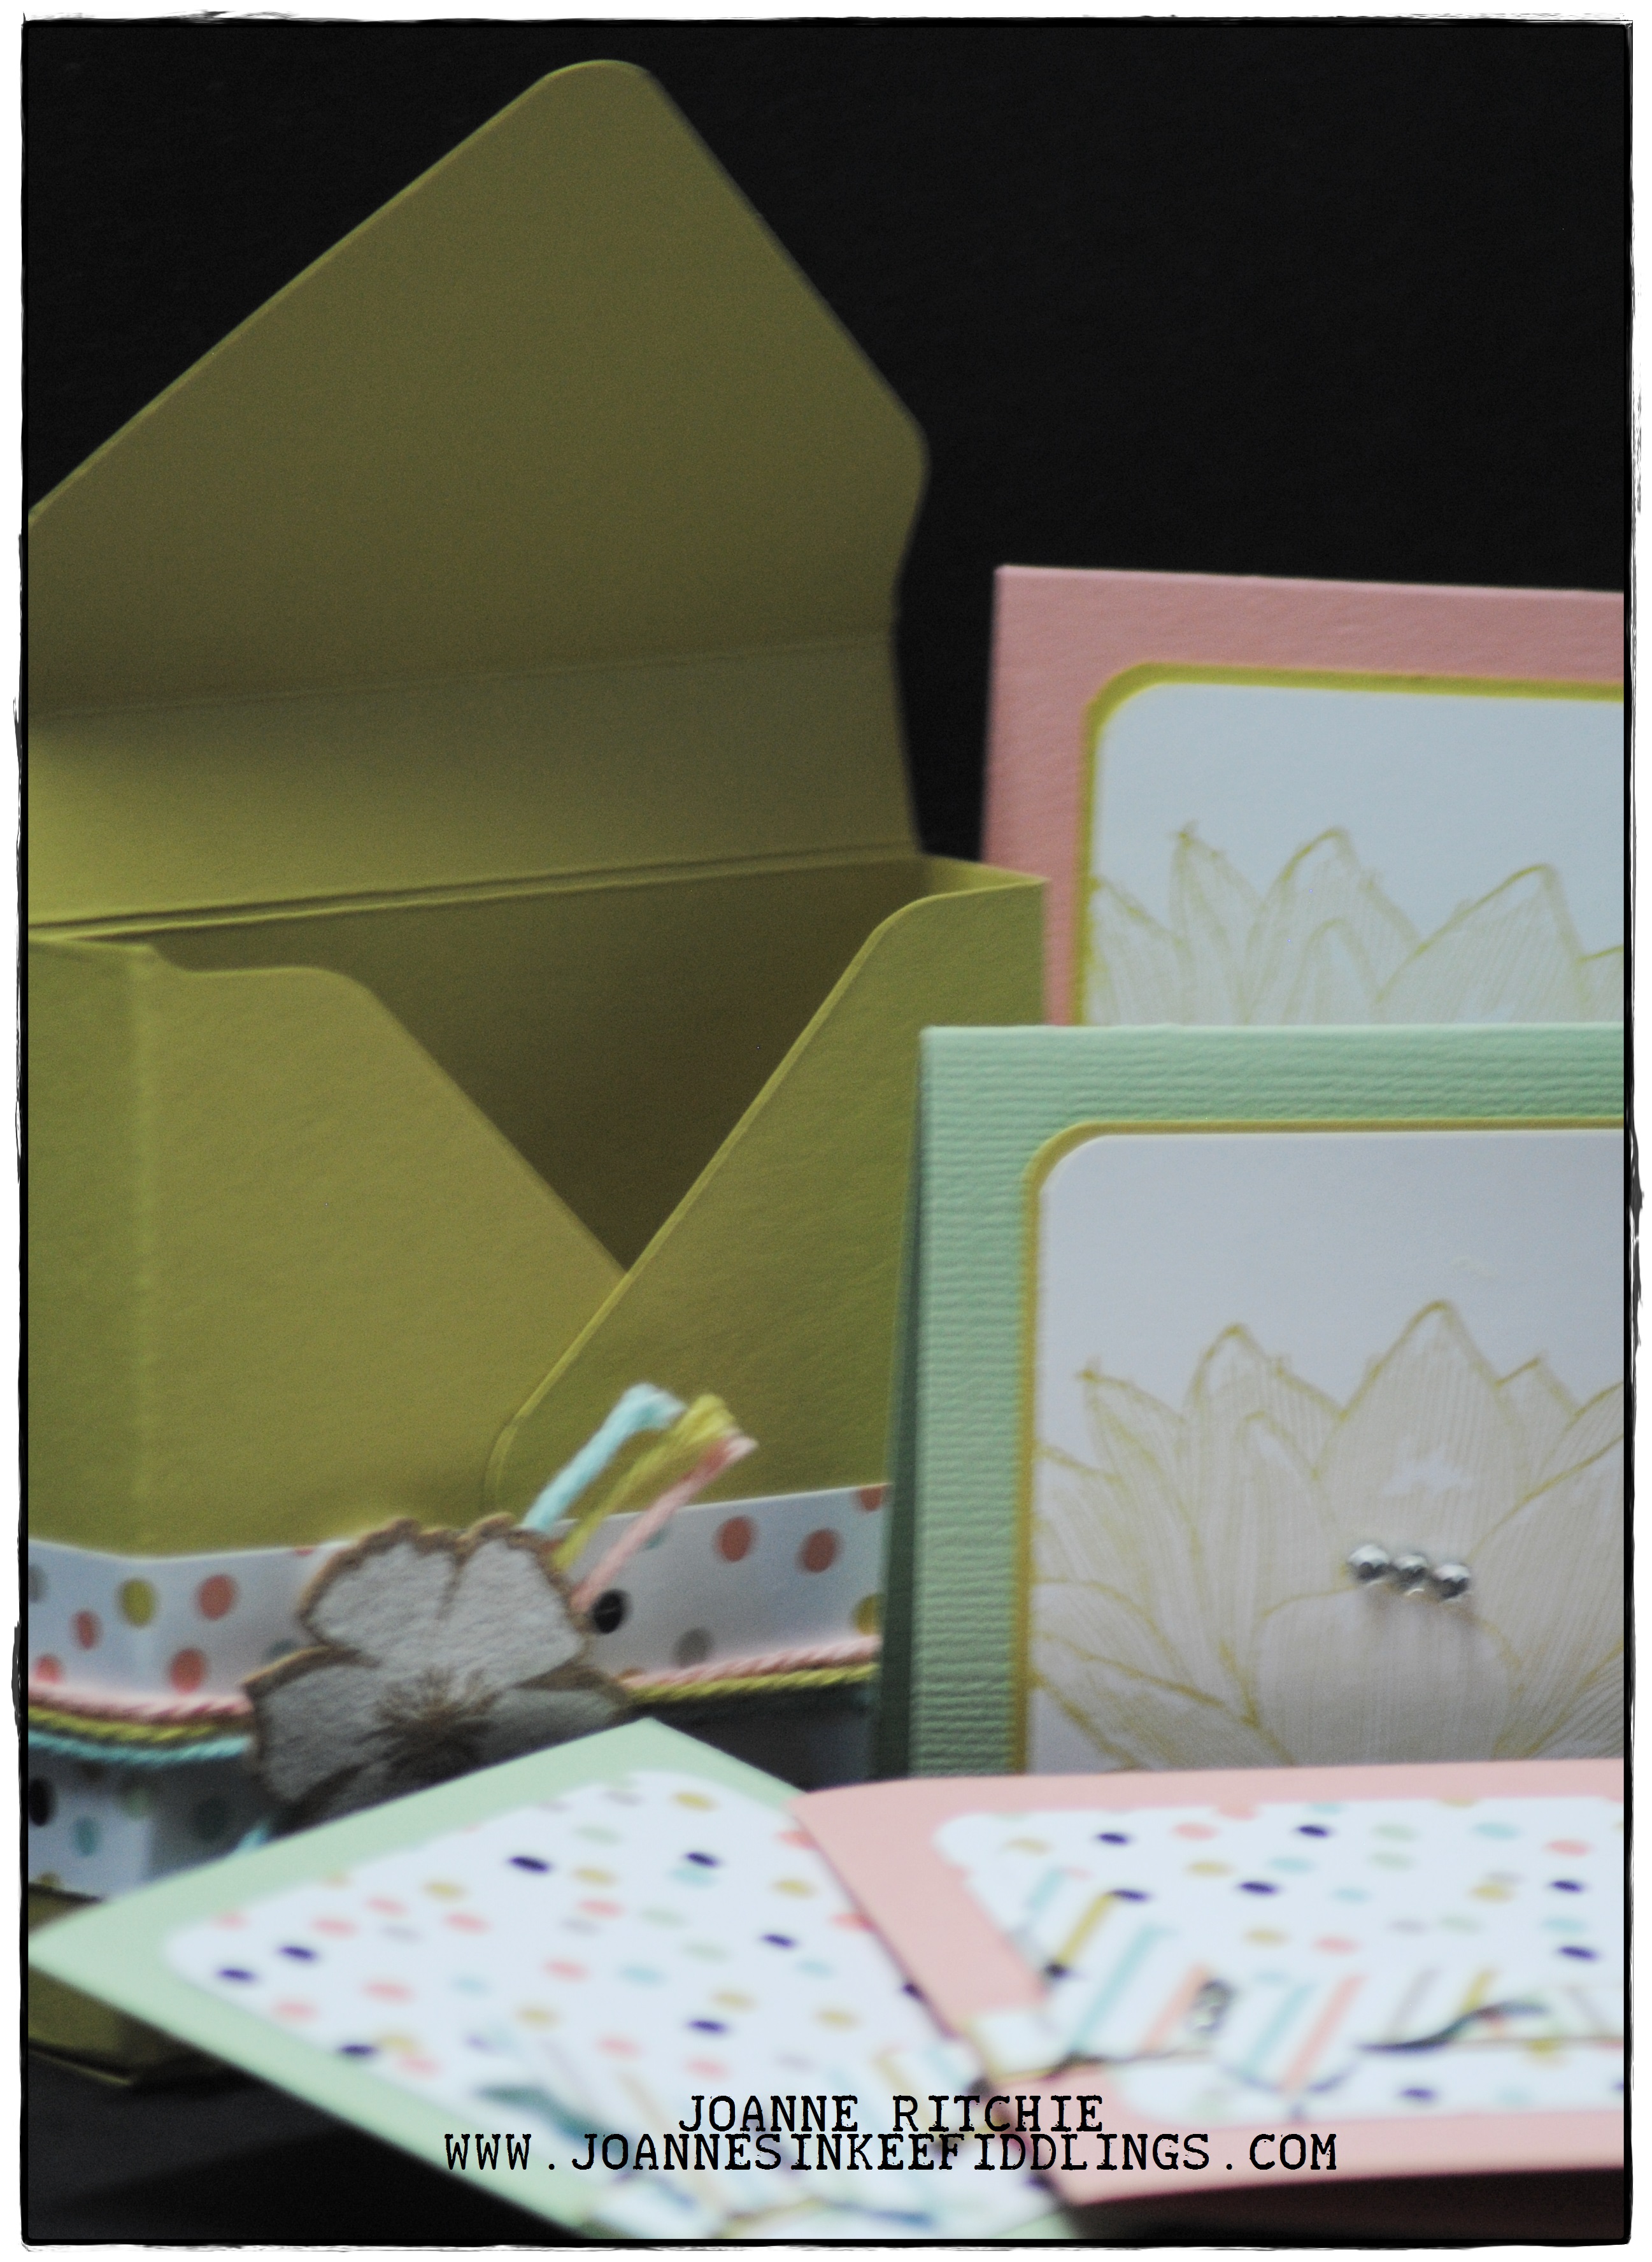
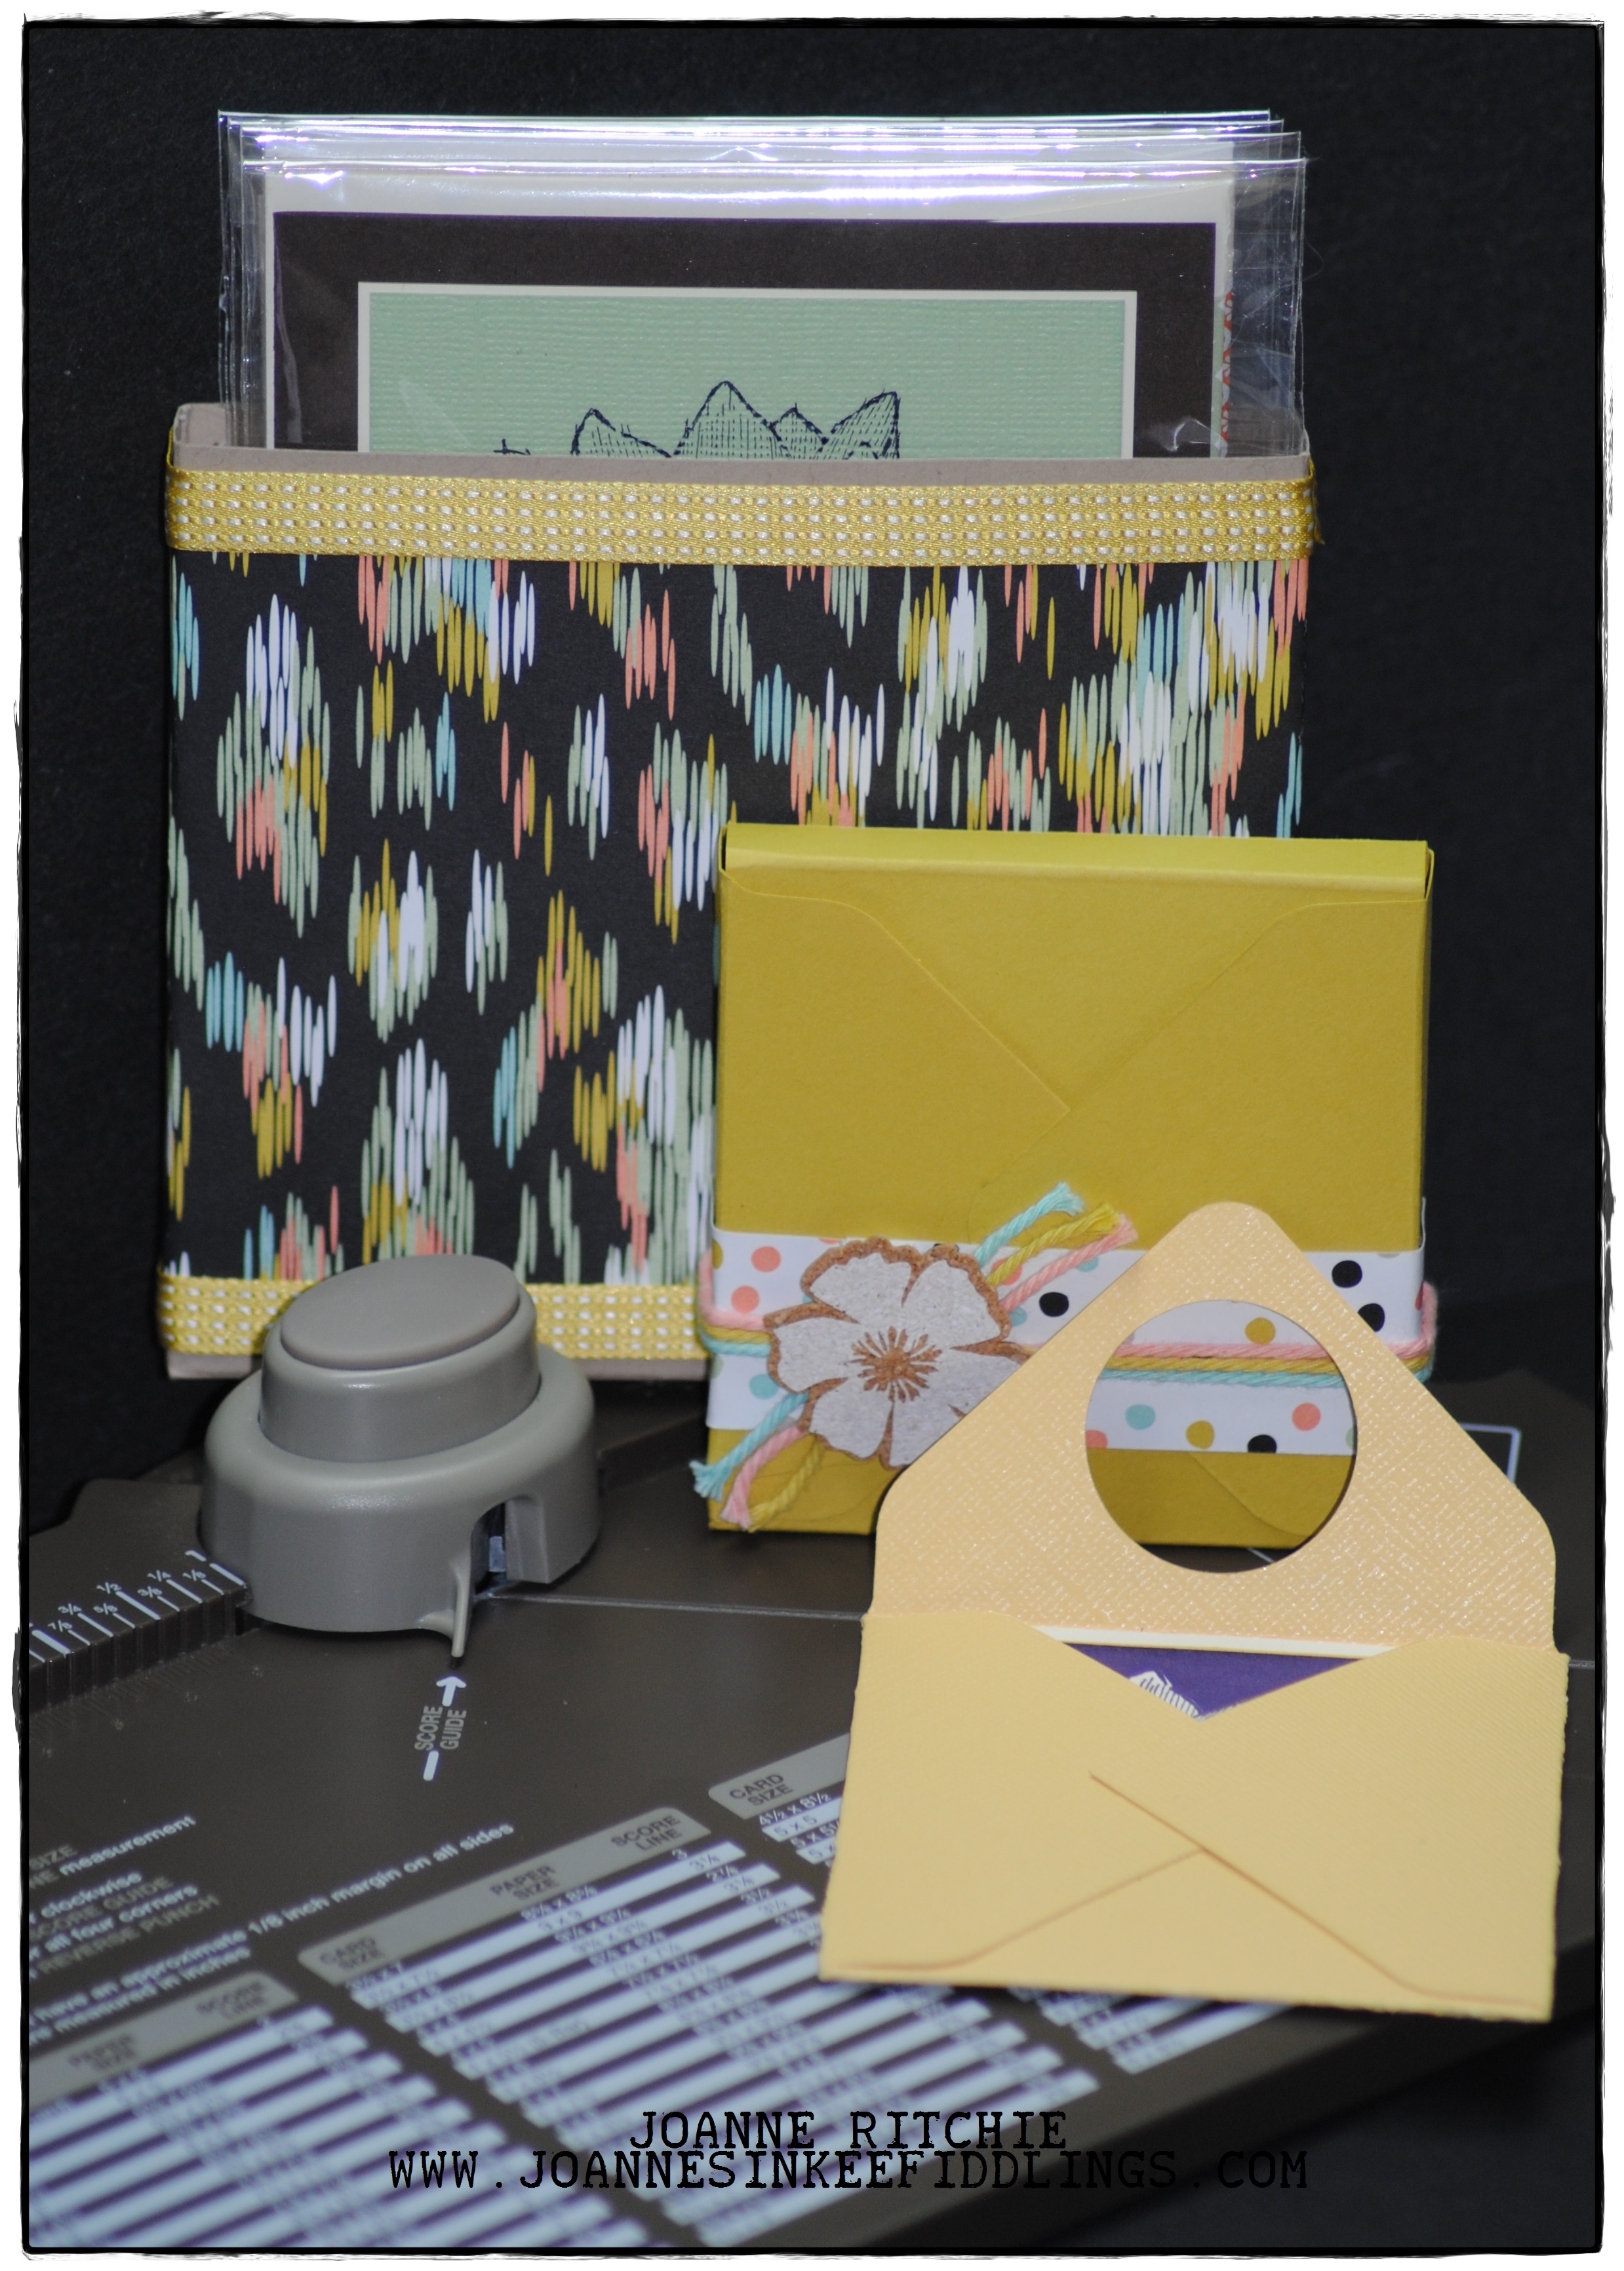 The 3″x3″ Card Envelope is so quick and easy but why the 1-1/4″ punched hole you ask? For the wine of course! How often have you taken a bottle or two of wine with you to someone’s house but to wrap or bag the wine would be overkill? Well, this I think is the perfect solution!

Then by simply adding an inch to all the measurements you have the cutest, and once again the easiest, little box to house four 3″x 3″ Gift Cards!
Then whilst working on a 4-1/2″x 6-1/2″ box for some regular-sized cards I stuck the sides down with sticky strip without aligning both sides of the box first. Possibly no one would have noticed but I knew I would so by simply cutting the top off the box, adding some lovely Sweet Sorbet DSP and matching ribbon it was all good. Looking at it now I think a handle would complete it nicely!
 PROJECT RECIPES
Cardstock: Summer Starfruit, Crisp Cantaloupe, Pistachio Pudding, Crumb Cake,
Elegant Eggplant, Very Vanilla
Stamp Set: People Like You
Classic Ink: Elegant Eggplant, Summer Starfruit, Crisp Cantaloupe
DSP: Sweet Sorbet
Punch: 1-1/4″ Circle, 3/16″ Corner, Elegant Butterfly
Ribbon: Summer Starfruit Satin
Embellishments: Basic Rhinestones, Sweet Sorbet Accessory Pack
Essentials: Envelope Punch Board, Paper Trimmer, Paper Snips,
Sticky Strip, Snail, Everywhere Glue Stick, Stampin’ Scrub & Mist
Oh, and have yourself an...
Inkee Fiddling Day!
Joanne x