I know, I know… really, really bad pun but I had to do it considering I was utilizing quite a bit you might say of the Quatrefancy DSP!
Anyways, here is my take on this week’s Mojo Monday (remember – clicking on their name will open you on their page where you can see some amazing creations!).

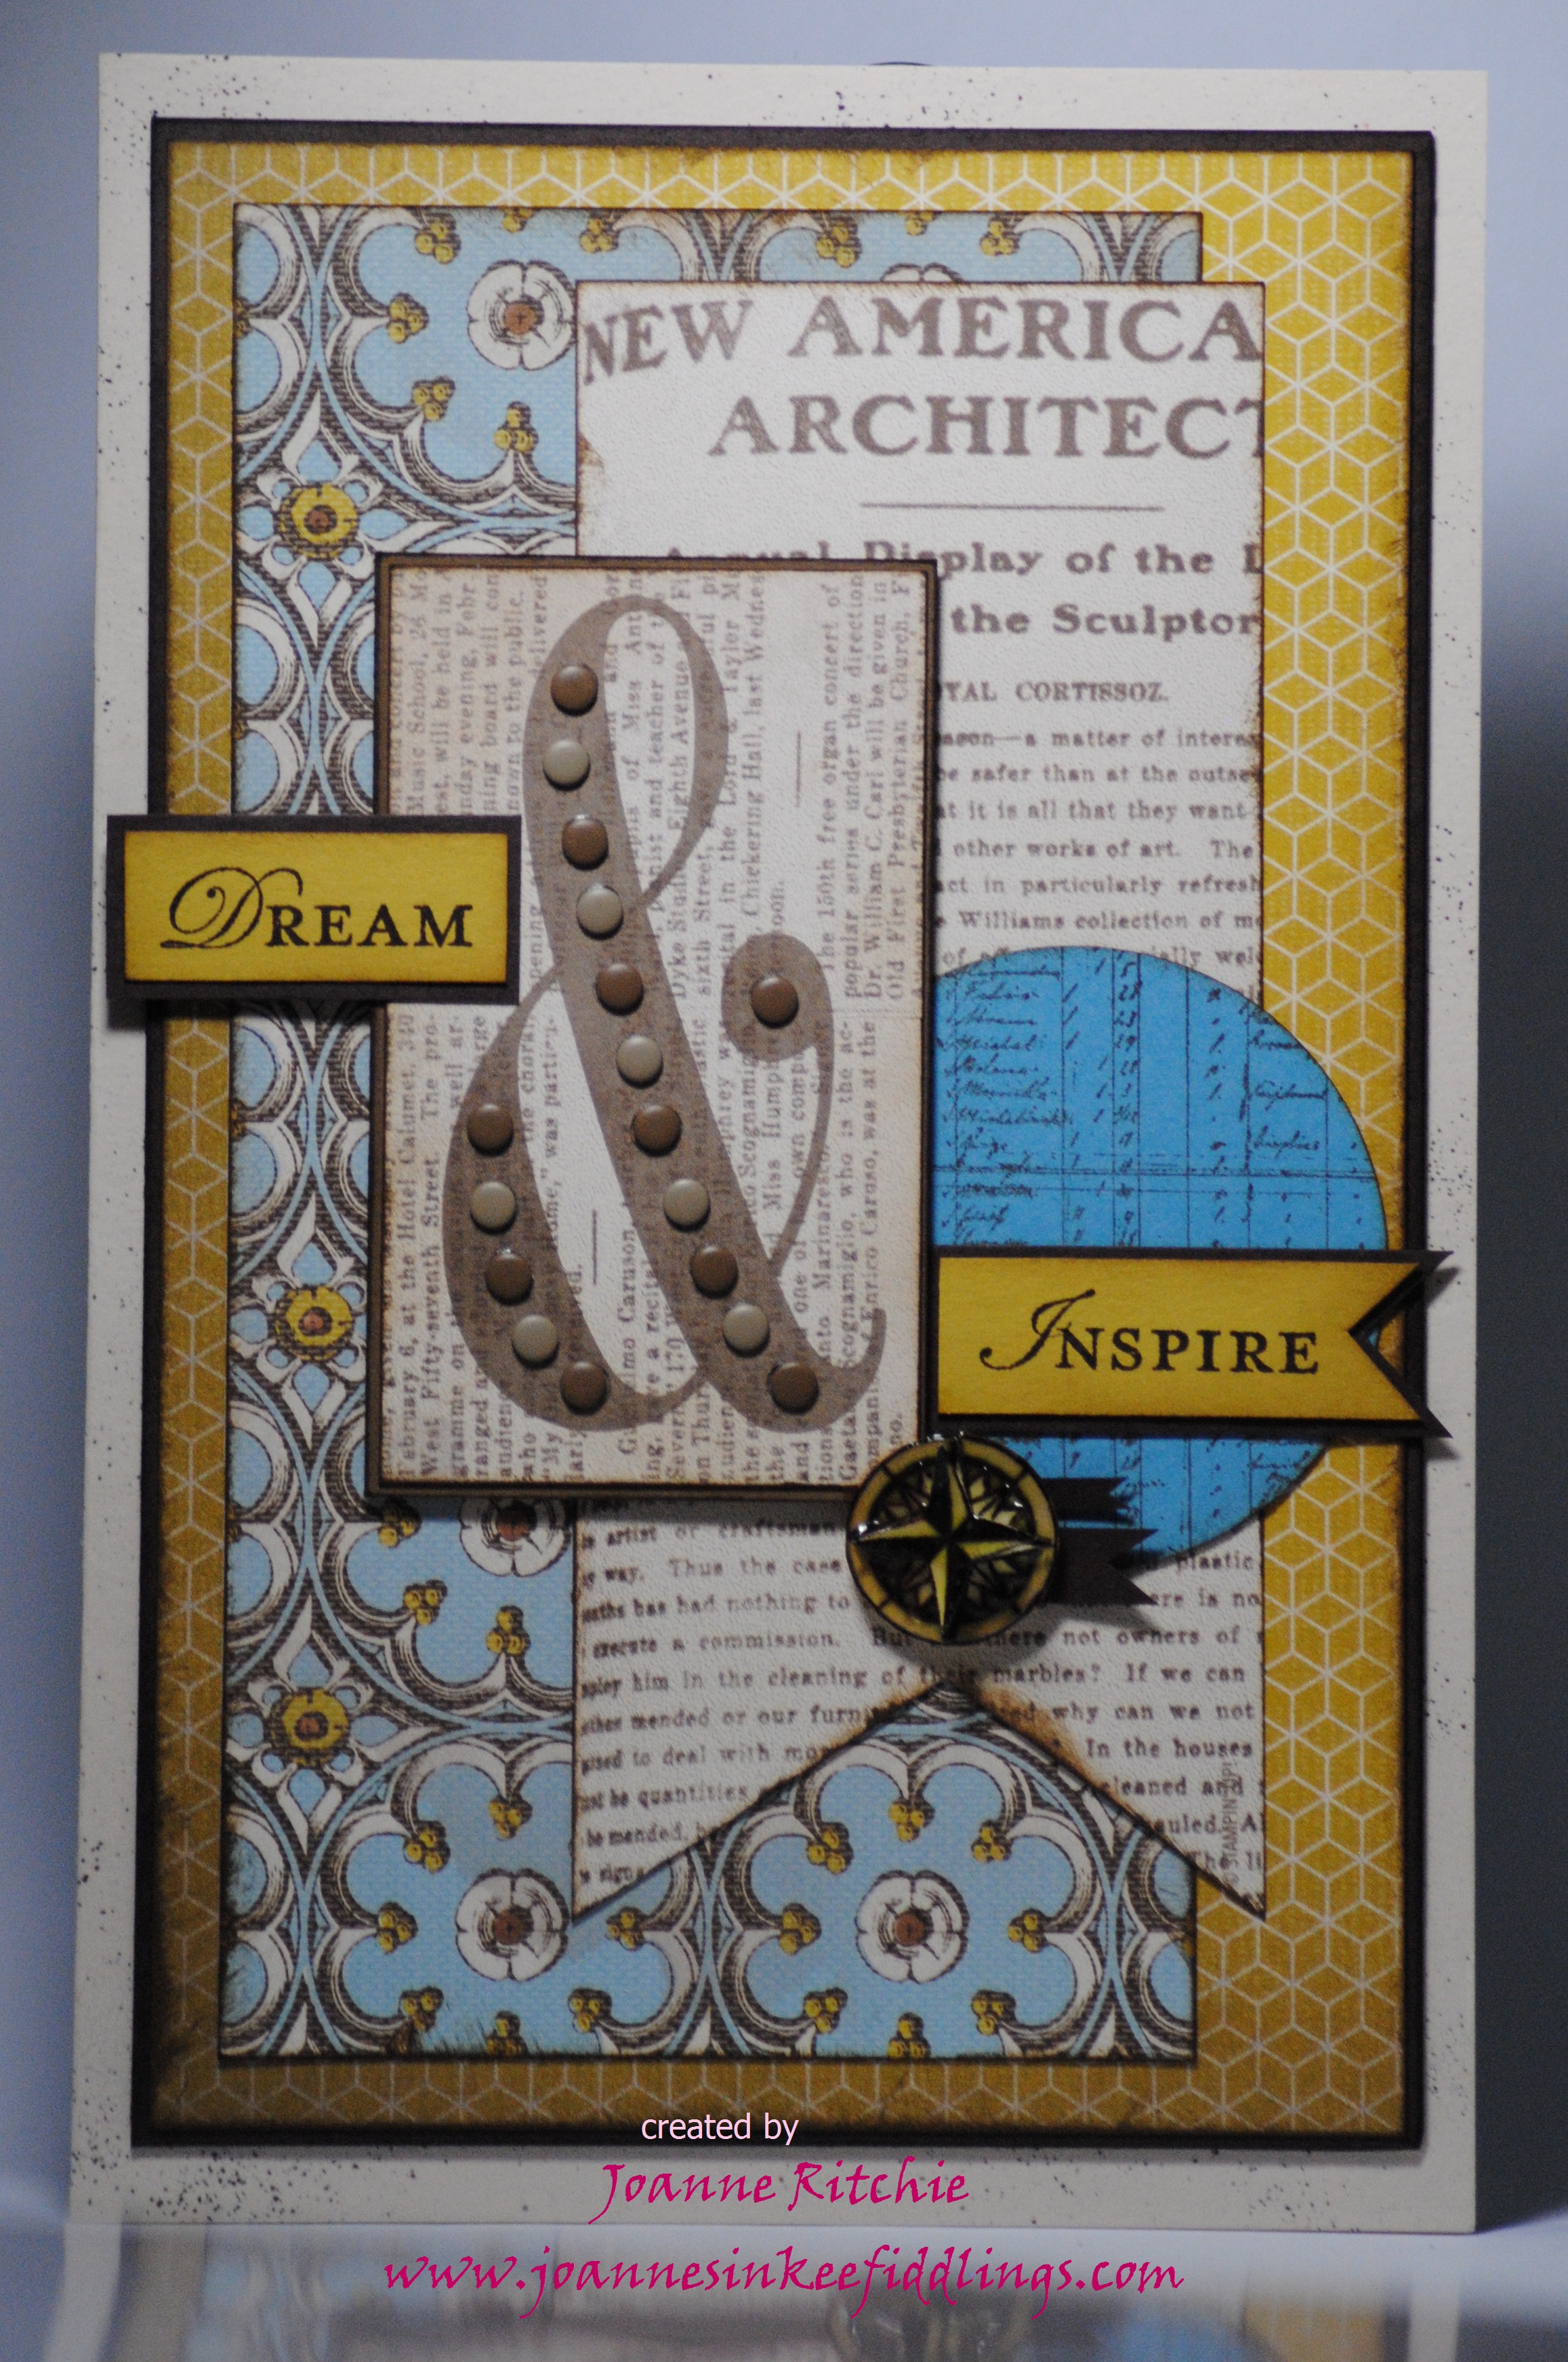
This is the sketch and this month you one can choose either round or square. Obviously I’ve opted for square as I have yet to order my nesting circles. Next week I’m placing an order dear Inkee Fiddlers so if there’s anything you know you’ll need over the summer months (I’ll be away for most of August) please let me so that I may include your items in the order! 
If you could see what I originally began with and what I finished with you’d laugh as the square design is the only thing remaining, even the color of the card base changed literally as I was about to stick the background down. I was determined Coastal Cabana was going to be my base but at the very last moment opted for Baked Brown Sugar which changed the feel immediately making it complete!
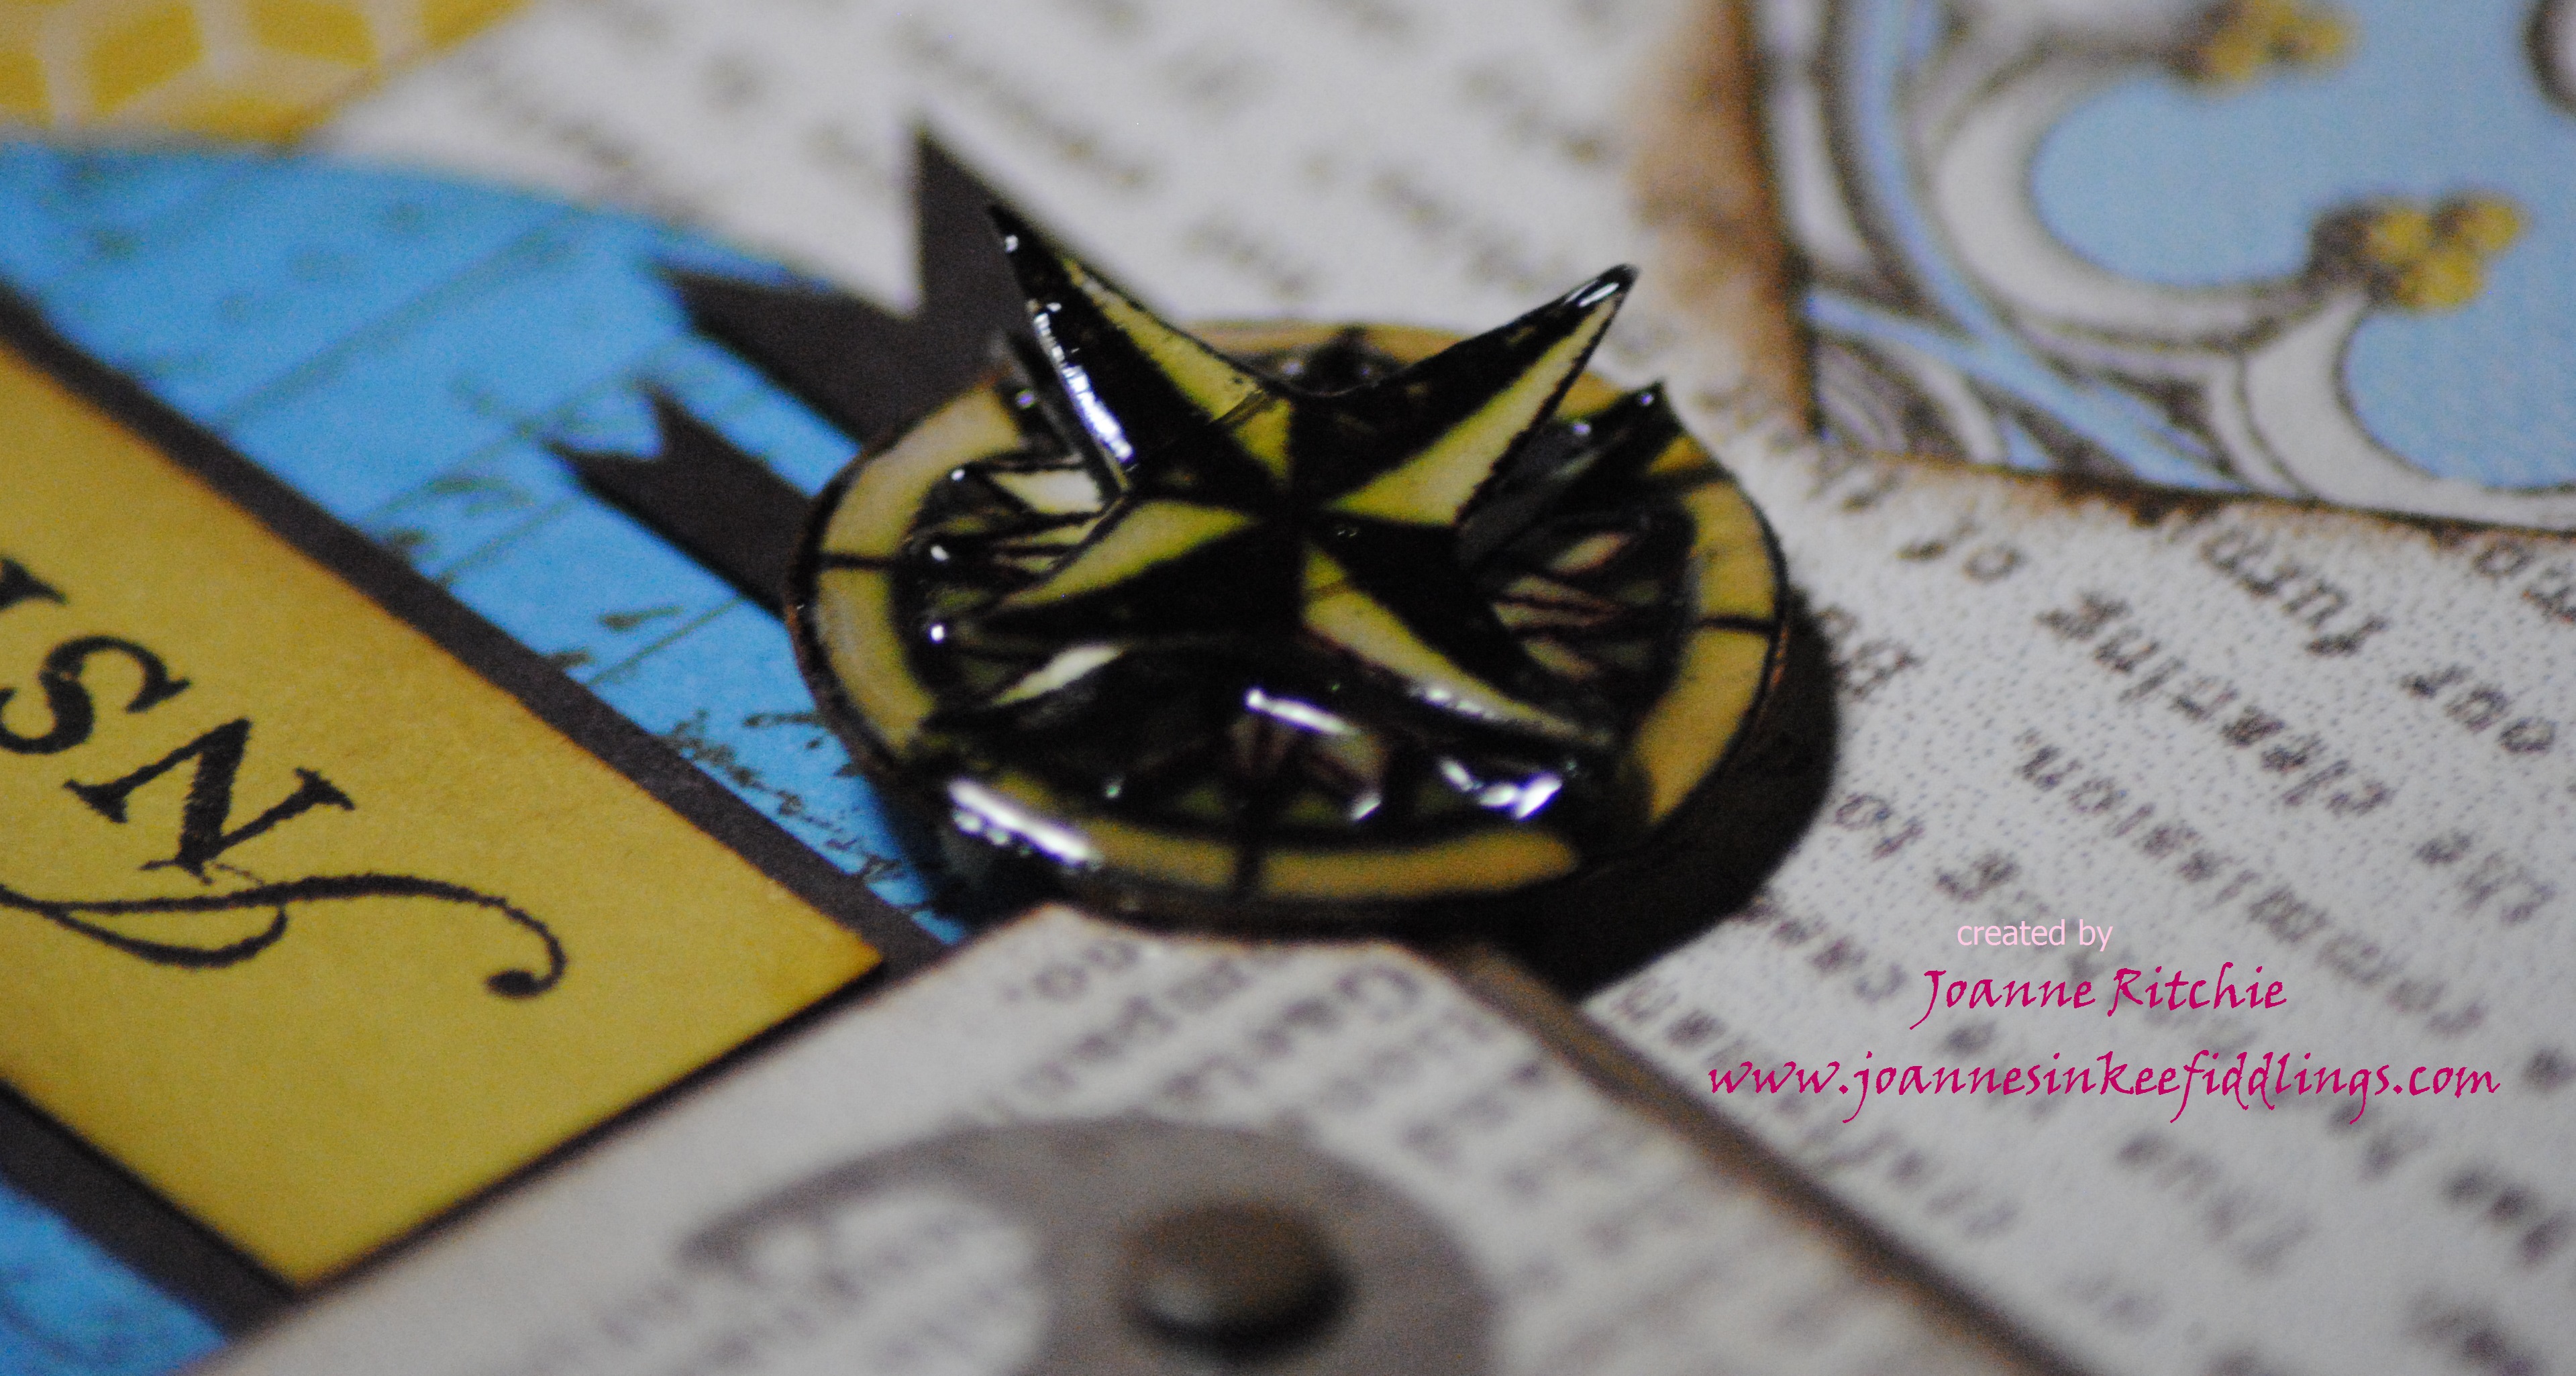
As much as I wanted brads on this card I did however want something a little different so chose brads from the Vintage Trinkets set that look like tiny, tiny buttons. I then proceeded to scruff them up a bit by sanding them, then adding just a little black pen to the center to dull them even further. The Pumpkin Pie strip was embossed with the Perfect Polka Dots Embossing Folder to take away its flatness.

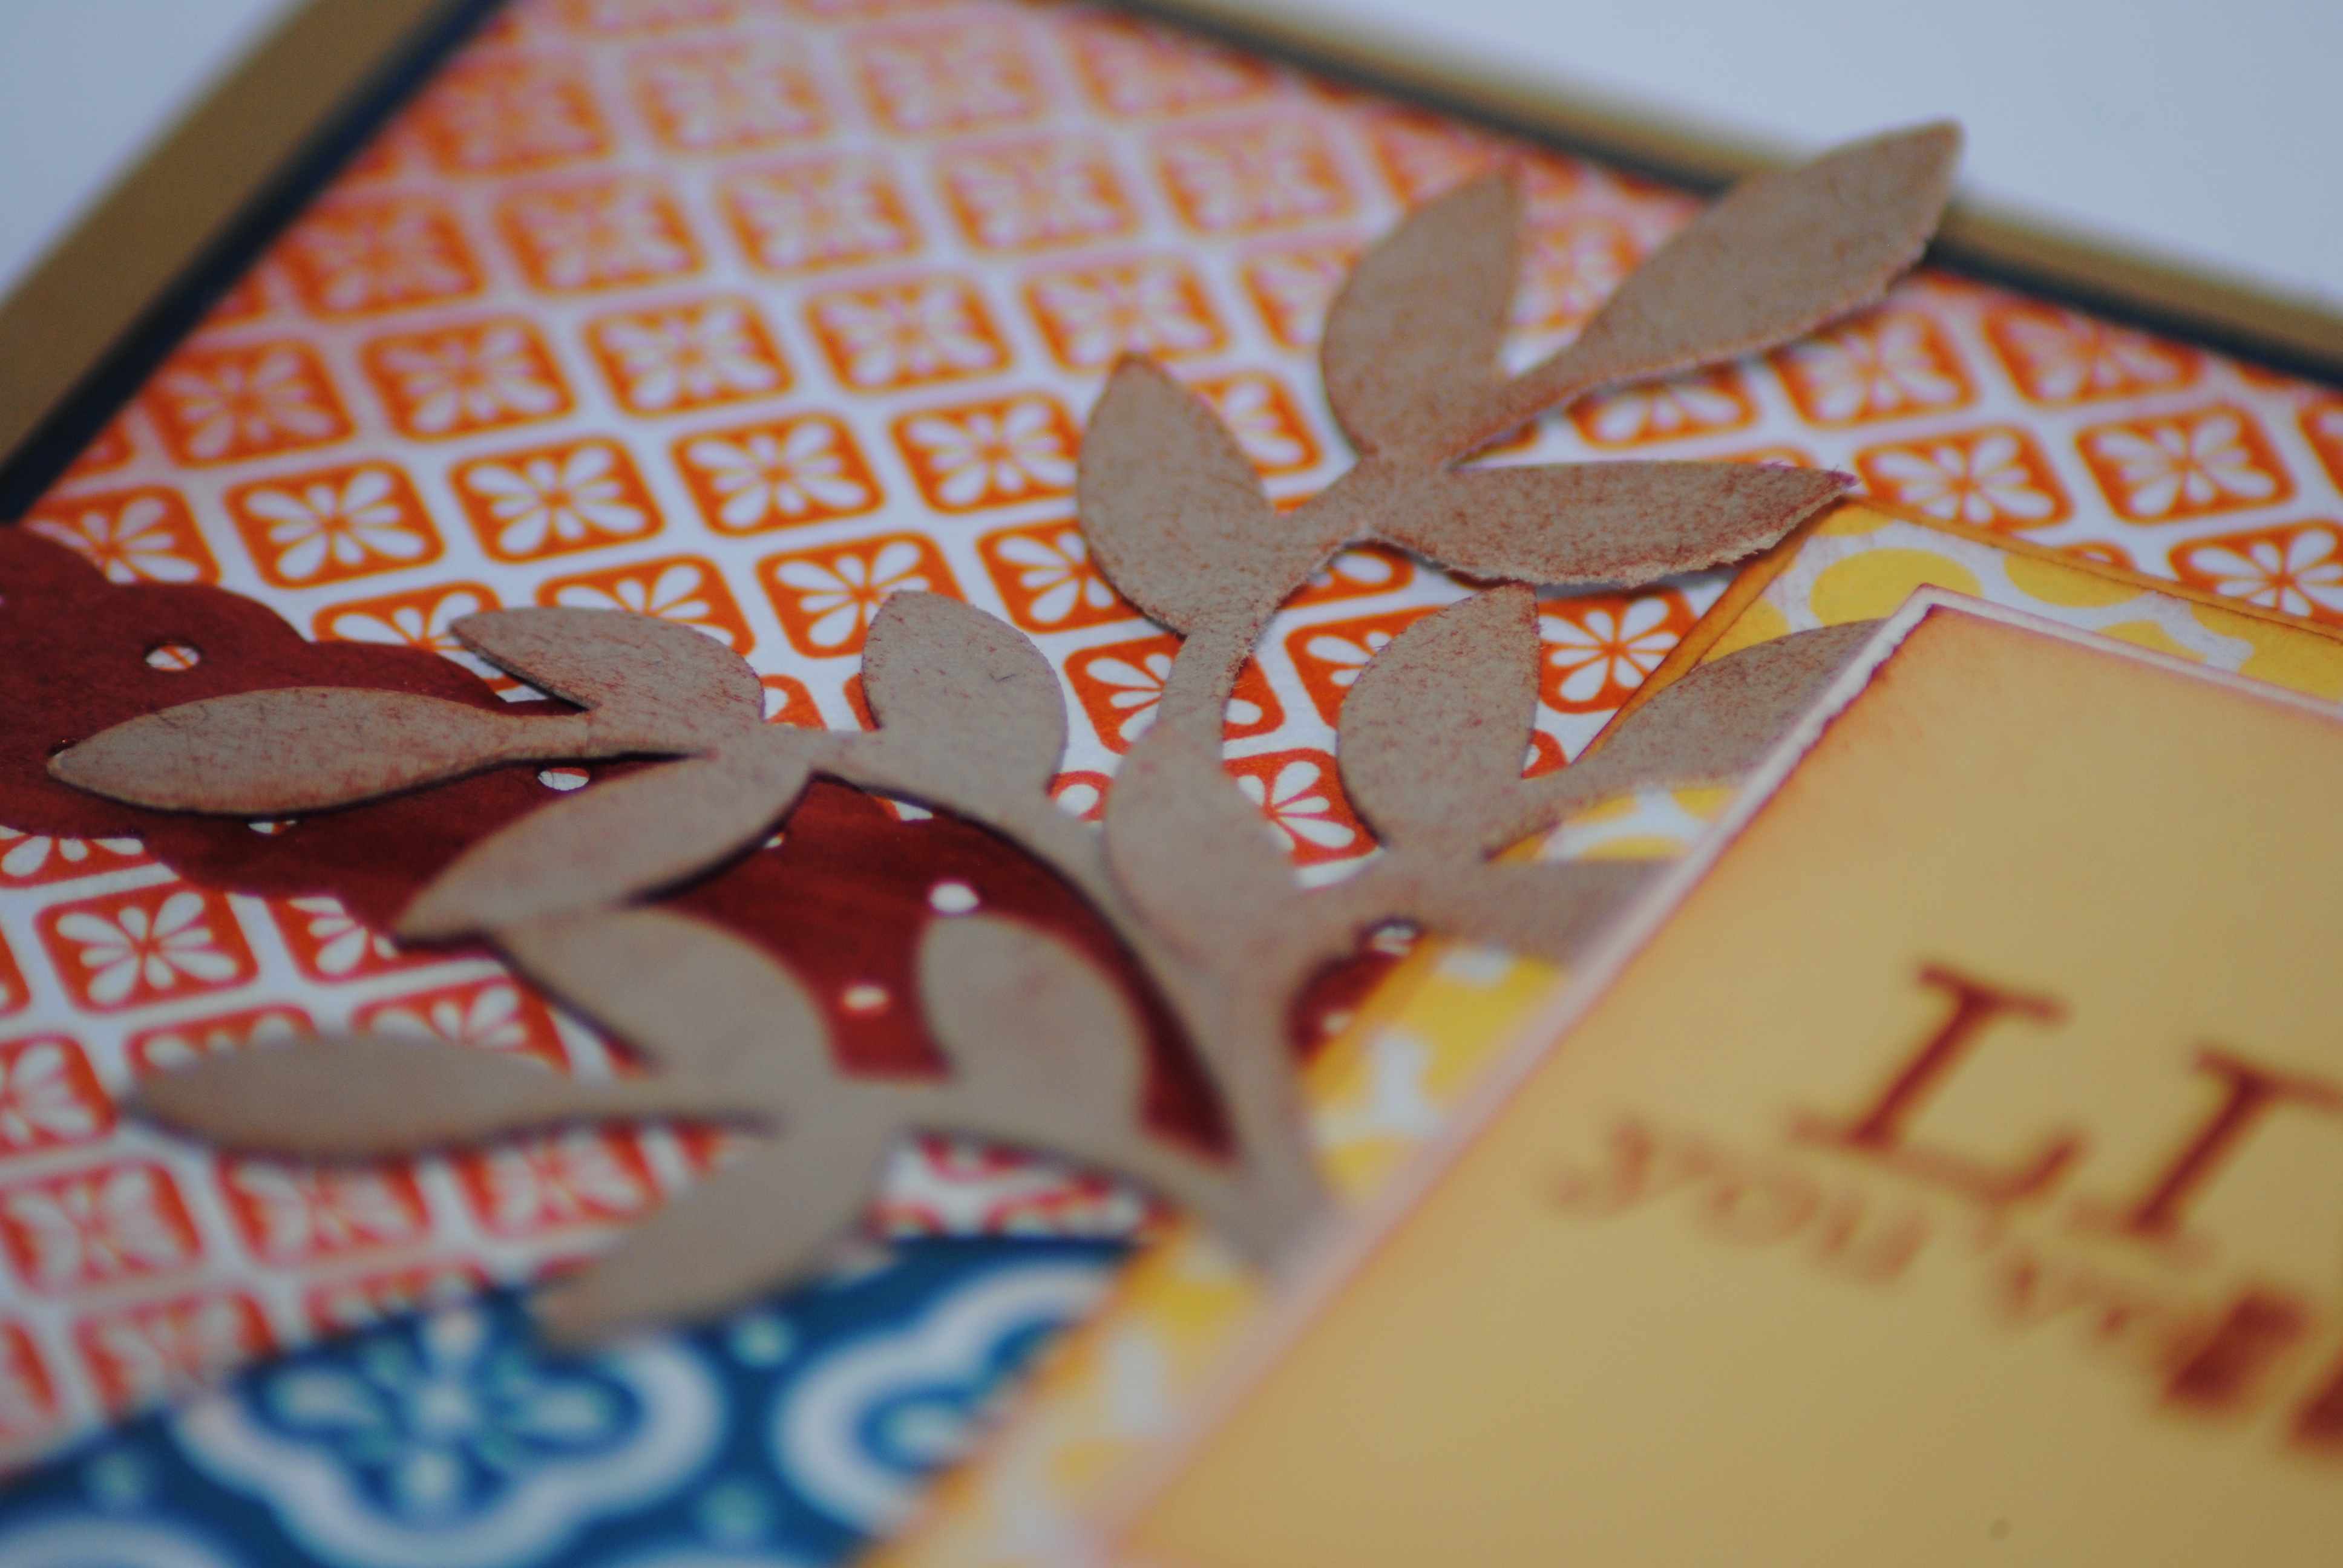
Due to my pledge of masculine cards, I felt I couldn’t add a flower so eventually punched branches from the Bird Builder Punch out of Crumb Cake before layering the branches directly on top of one another. To take away the starkness of the Crumb Cake I ever-so-gently sponged Cajun Craze over the branches to match the Cajun Craze I’ve used for the Dotted Scallop Ribbon.

And yes, I know I’ve been told I “over layer” but like sponging, that’s who I am, I like, no I LOVE loads of layers. Besides, layering is also a FABULOUS way of using up off-cuts/scraps as I keep almost ALL my bits. This being the result – no wastage and loads of layers! 😉

CARD RECIPE
Cardstock: Baked Brown Sugar, Midnight Muse, Pumpkin Pie, Daffodil Delight, So Saffron,
Whisper White, Island Indigo, Crumb Cake, Cajun Craze
Stamp Set: Really Good Greetings
Classic Ink: Cajun Craze, Island Indigo
DSP: Quatrefancy
Punches: Bird Builder, Dotted Scallop Ribbon Border, 2-1/2″ Circle
Big-Shot: Perfect Polka Dot Embossing Folder
Embellishments: Vintage Trinkets
Essentials: Stampin’ Trimmer, Stampin’ Scrub & Mist, Two-Way Glue,
Clear Mount Block, Paper Snips, Sponges, Sanding Block, Marker Pen
Oh, and have yourself an...
Inkee Fiddling Day!
Joanne x

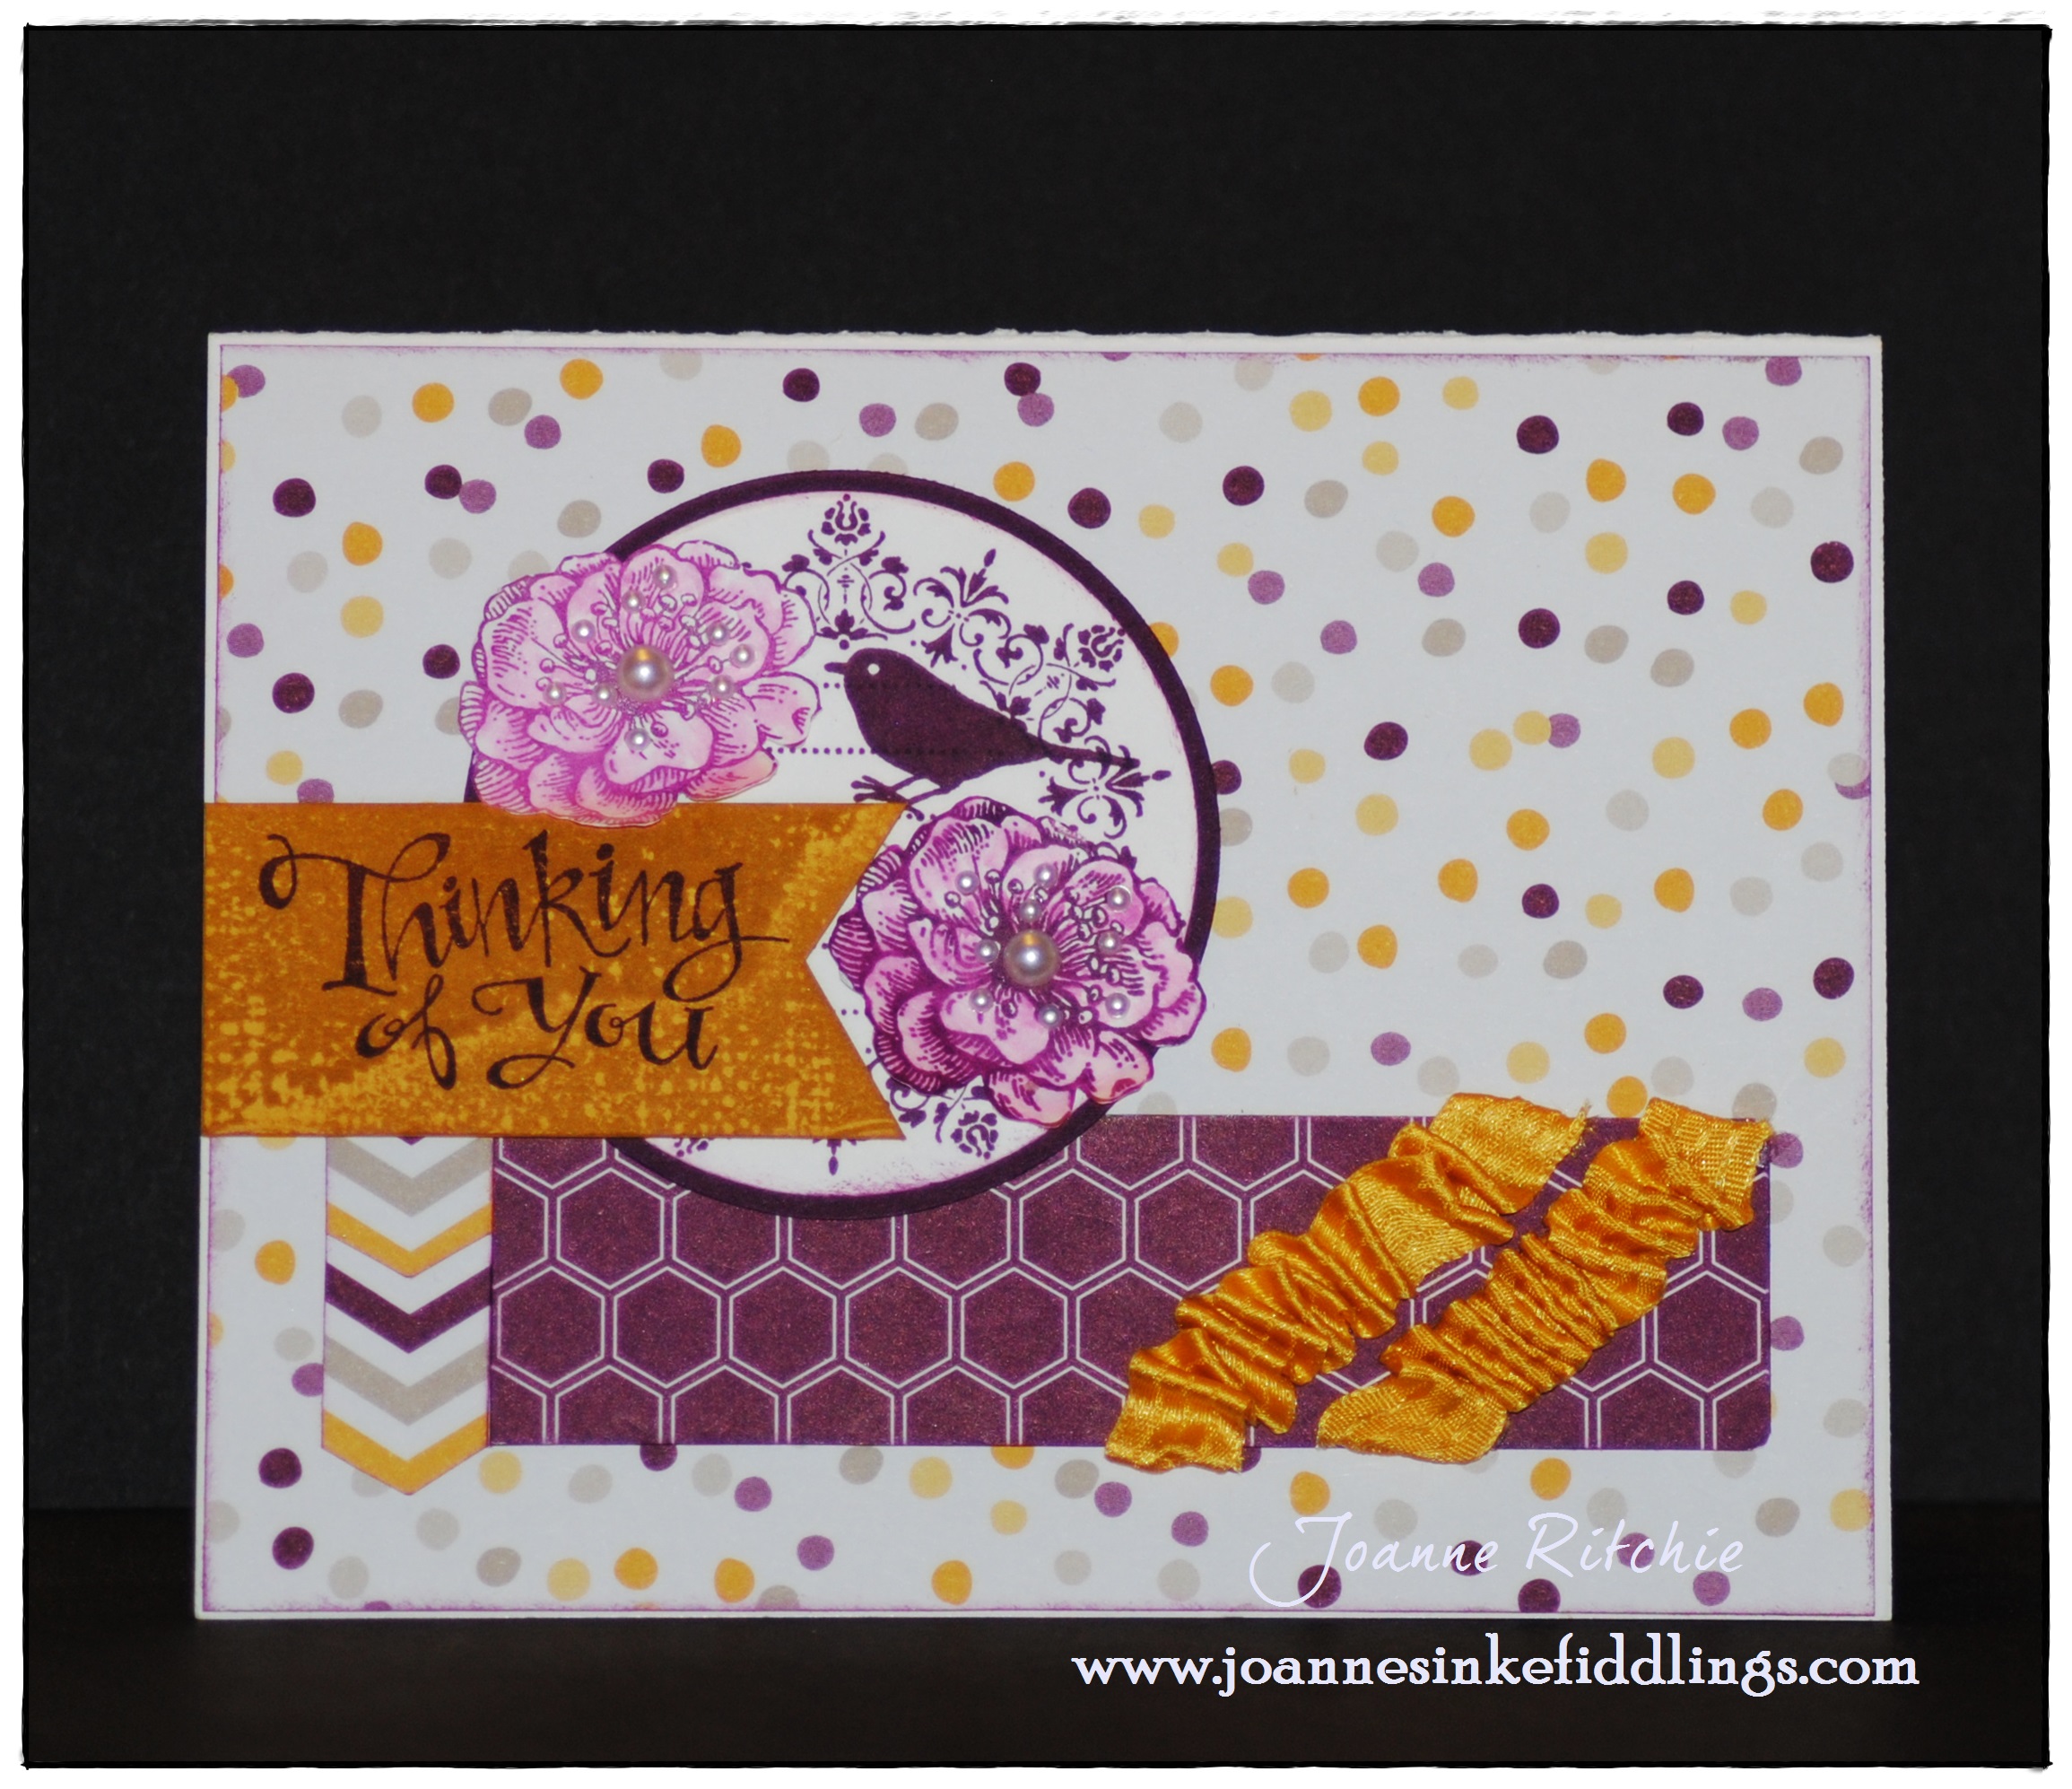
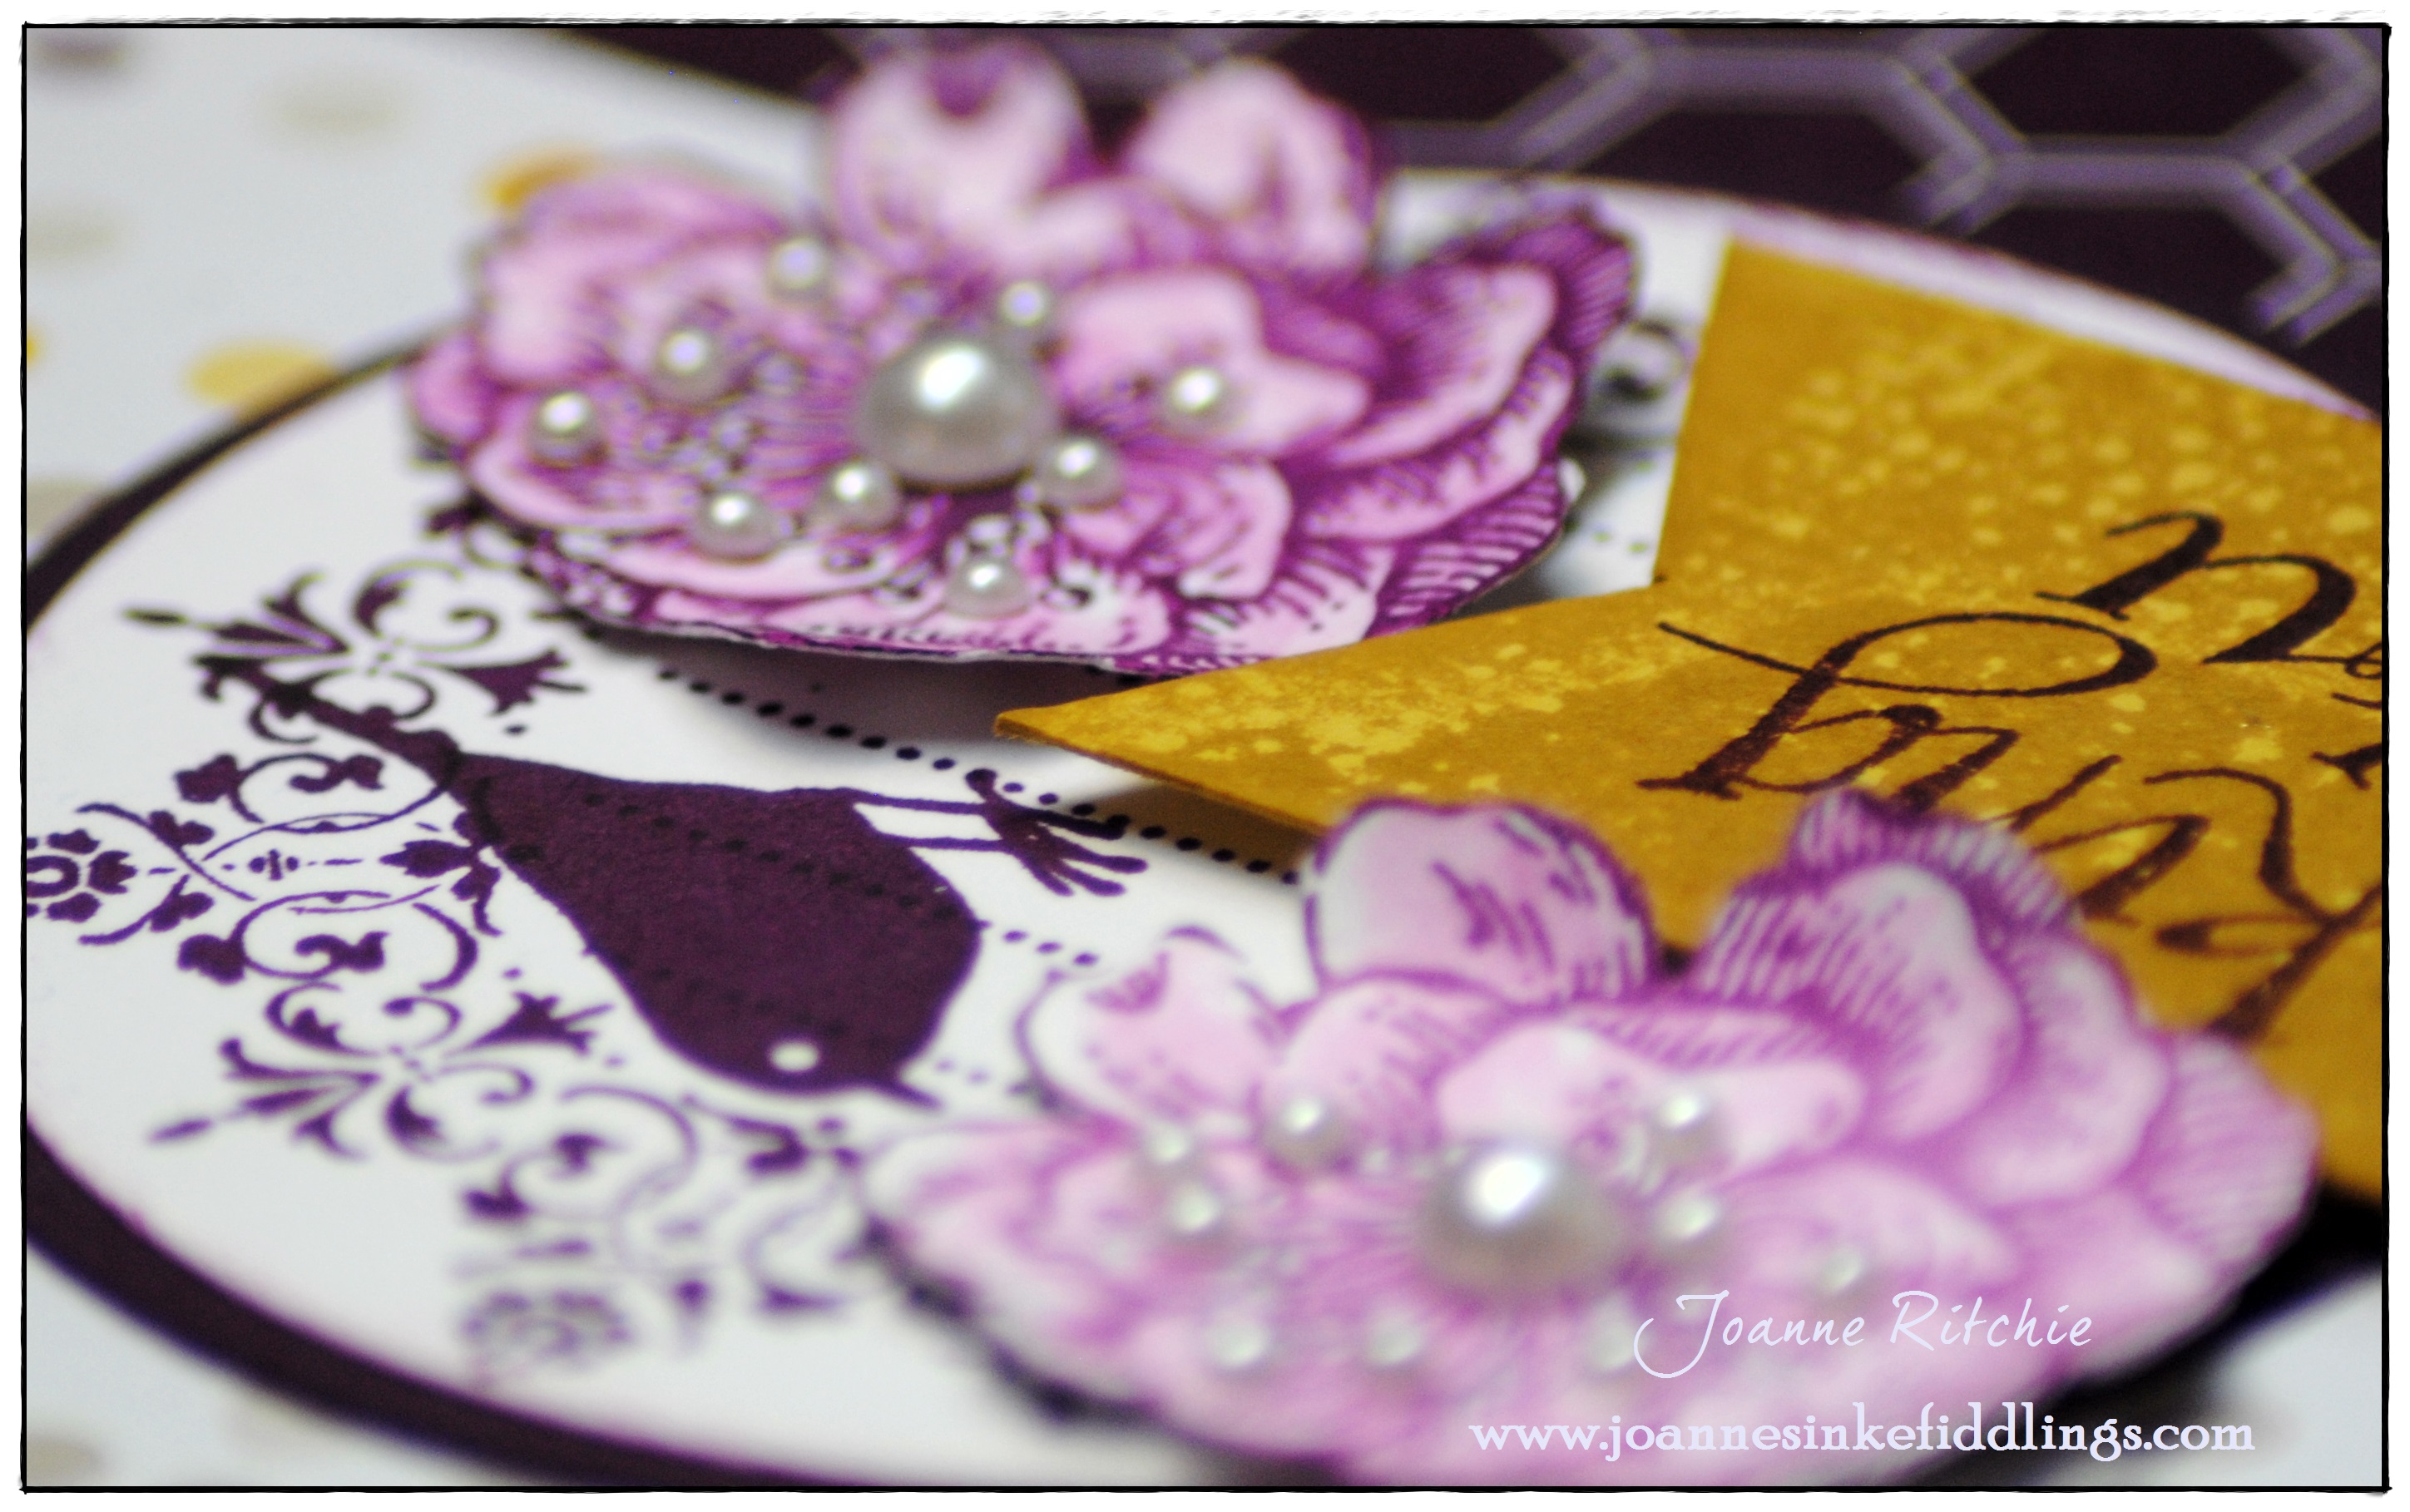
 For today sketch the Moonlight DSP Stack was my inspiration as my background, bottom strip and even that side of arrows on the left! The Everything Eleanor Stamp Set was perfect for filling in the rest. The flowers I particularly like, especially when highlighted with a little color using an Aqua Painter and some Basic Pearl Jewels!